28/03/2010

Make penguin from socks with pictures


Preparation
- a black sock
- a white sock
- a pair of scissors
- Needle and thread
- A marker (or pen)
- Ribbon or felt flower
Let's get started
Step 1:
- Cut off the ankle of the sock and stitch up the hem
Step 2:
- Use the remaining ( that had been cut off from the sock) and felt fabric to make wings and beak of penguin
Step 3:
- Stuff the sock as shown
Step 4:
- Use the marker to draw the stomach
- Cut the white sock and sew to body to make the stomach and legs as shown
( Use the ankle of the white sock to make penguin's legs).
Step 5:
Step 6:
- Sew the wings to body
Step 7:
- Sew beak and eyes
Step 8:
- Sew ribbon and felt flower to the penguin
Penguin from socks


Download Here

23/03/2010

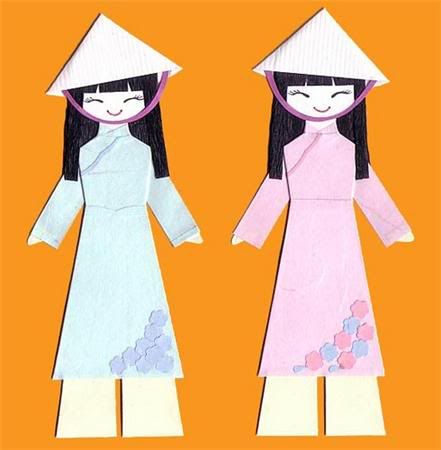
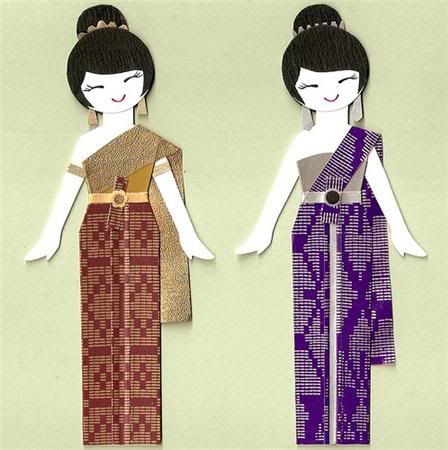
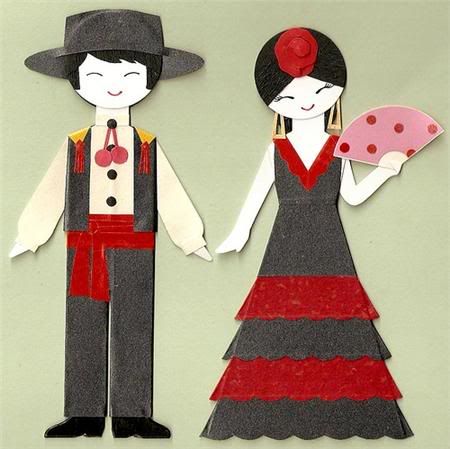
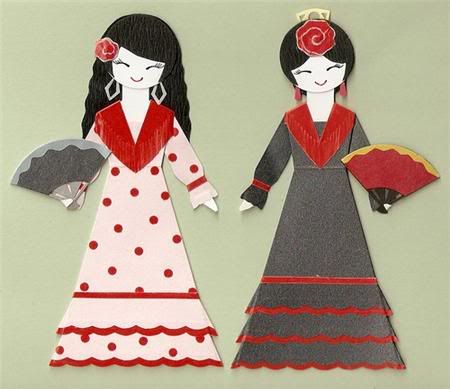
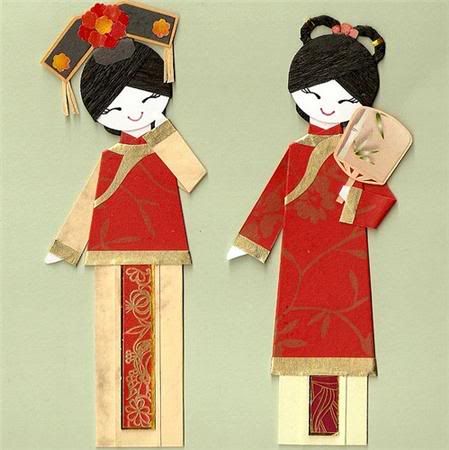
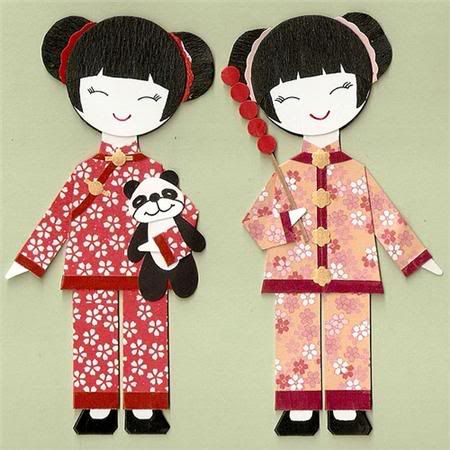
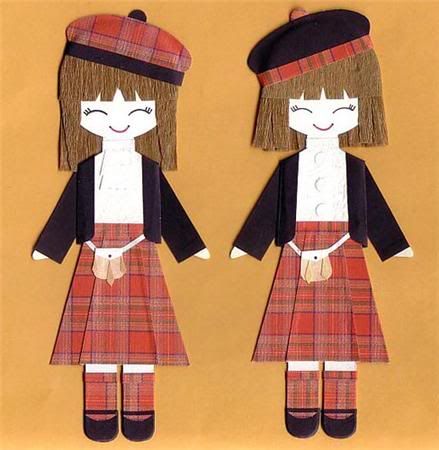
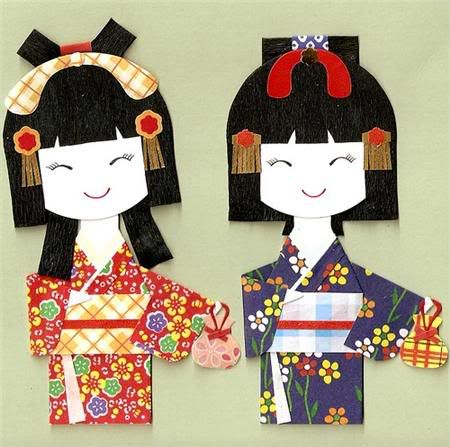
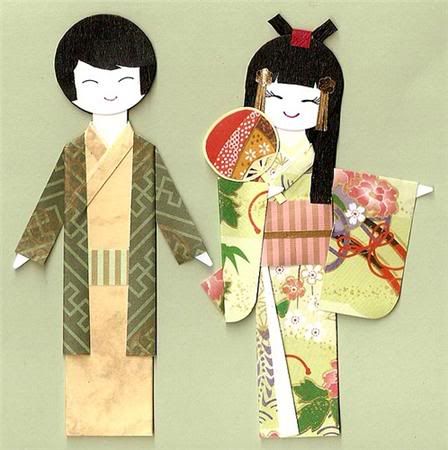
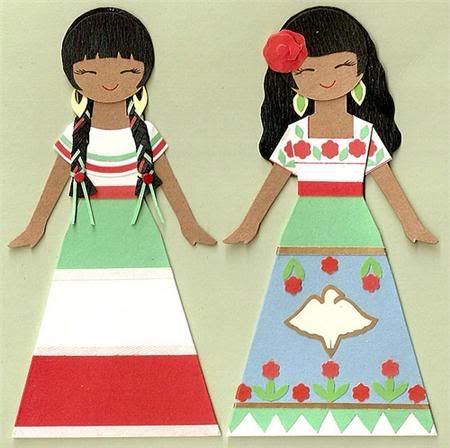
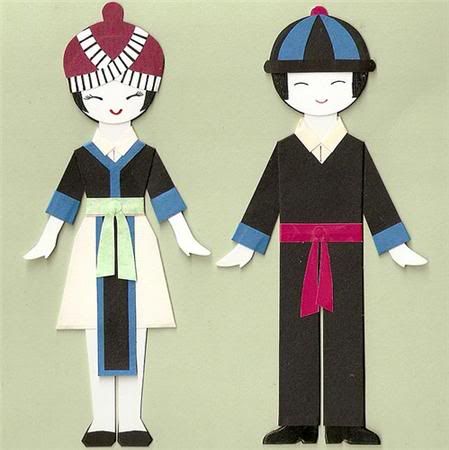
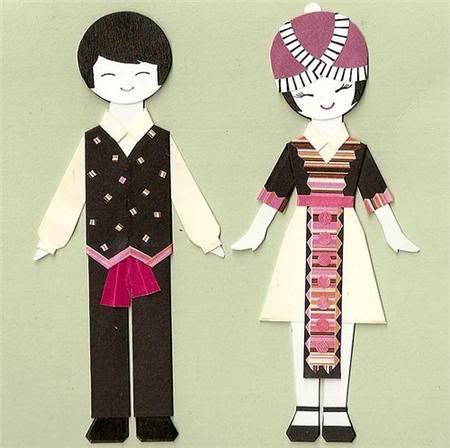
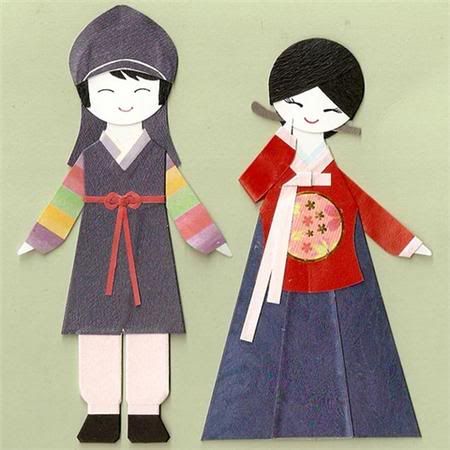
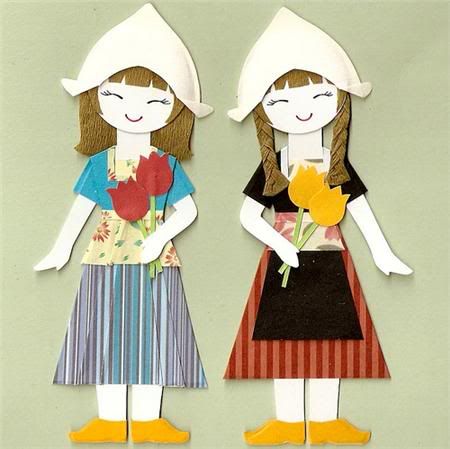
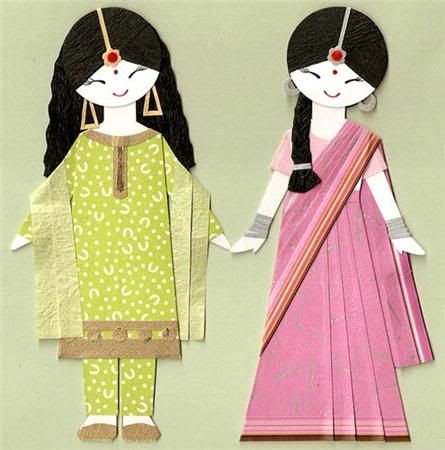
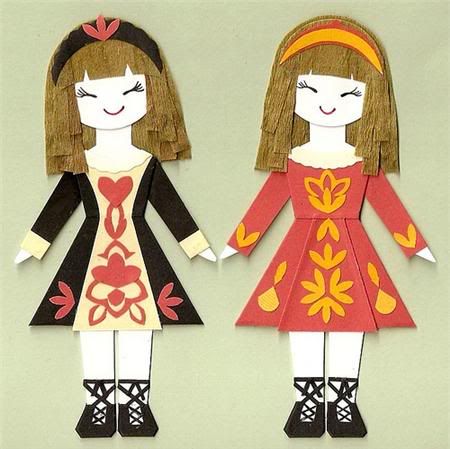
Paper dolls - traditional dresses of many country


Vietnam traditional dress


Thailand traditional dress


Spain traditional dress


China traditional dress


Scotland traditional dress


Japan traditional dress


Mexico traditional dresses


(update)


Korean traditional dress


Holland traditional dress


Indian traditional dress


(Update)


Download Here

Clay Crocodile staple


Preparation

- Clay (colour: green, white, black and yellow)
- A staple
- A pencil
- A knife


Step 1:


Step 2:

Step 3:


Step 4:


Step 5:


Step 6:


Step 7:


Step 8

Step 9:

Step 10: Make the crocodile teeth


Step 11:

Step 12: the finished clay crocodile staple


Download Here

Make a belt from old tyres

Preparation:

Old tyres
Belt buckle
Rivets
A pair of scissors
A slot punch


Let get started

Step 1

Clean the old tyre and cut the belt from the old tyre. The belt should be 1 foot longer than the waist measurement and equal in width to the interior width of the chosen buckle.


Step 2:

Place a slot punch on the belt. The first two holes should be placed 1/4 inch from the belt end, and each hole should be 1/4 inch from the belt's edges.


Step 3:

Insert the buckle prong through the punched slot so that the buckle is correctly positioned. Fold the uncut belt end back so that the rivet holes are lined up, and insert the rivets from the underside of the belt.


Finished belt


Download here

Make Eggshell Ornaments- Egg shell craft for kids- ideas for Easter arts and crafts

Preparation

Egg shells
Tacky glue or school glue
Beads
Acrylic colours
Catgut (or string)
Pair of scissors
Ribbon, rick-rack, or metallic braid ( 1/8 inch size is the best)


Lets get started

Step 1: Poke a large hole in the egg


Step 2: Paint the egg with Acrylic colours ( be careful not to break the egg, you can choose your favourite colours)


Step 3: start cutting holes in the front of the eggs with a very sharp pair of scissors. Cut holes large enough so that you are able to set a scene inside. Cut slowly and be patient. Sometimes it might help to poke a hole with the pin to get started.


Step 4: let the paint dry, then apply glue on egg shell


Step 5: Apply the sparkling sand while the glue is still wet


Step 6: Tie the string on top for hanging the egg
Step 7: Field test the amount of ribbon or braid or whatever that it takes to circle the egg hole in the front of the egg (see picture). Cut the ribbon and glue into place. Let the glue dry.


Step 8: set a scene inside


There are some examples that you could use 
Download here 

Followers